Global high-mix volume high-speed PCBA manufacturer
9:00 -18:00, Mon. - Fri. (GMT+8)
9:00 -12:00, Sat. (GMT+8)
(Except Chinese public holidays)
Global high-mix volume high-speed PCBA manufacturer
9:00 -18:00, Mon. - Fri. (GMT+8)
9:00 -12:00, Sat. (GMT+8)
(Except Chinese public holidays)
HomePage > Blog > Knowledge Base > Soldering Temperature in PCB Assembly
Modern electronics require soldering as a fundamental process to secure components to printed circuit boards (PCBs) through molten metal. The soldering temperature should be set carefully. Exceeding the optimal temperature risks burning components, and an insufficient temperature leads to fragile joints. Proper soldering iron temperature settings result in reliable connections that last and production processes that run smoothly.
What temperature setting should you use for soldering your specific project? The best soldering temperature varies based on factors such as the composition of the solder alloy used, the thickness of the PCB, and the soldering method implemented. This guide explains the necessary temperature ranges, shares optimization techniques, and discusses common mistakes to avoid.
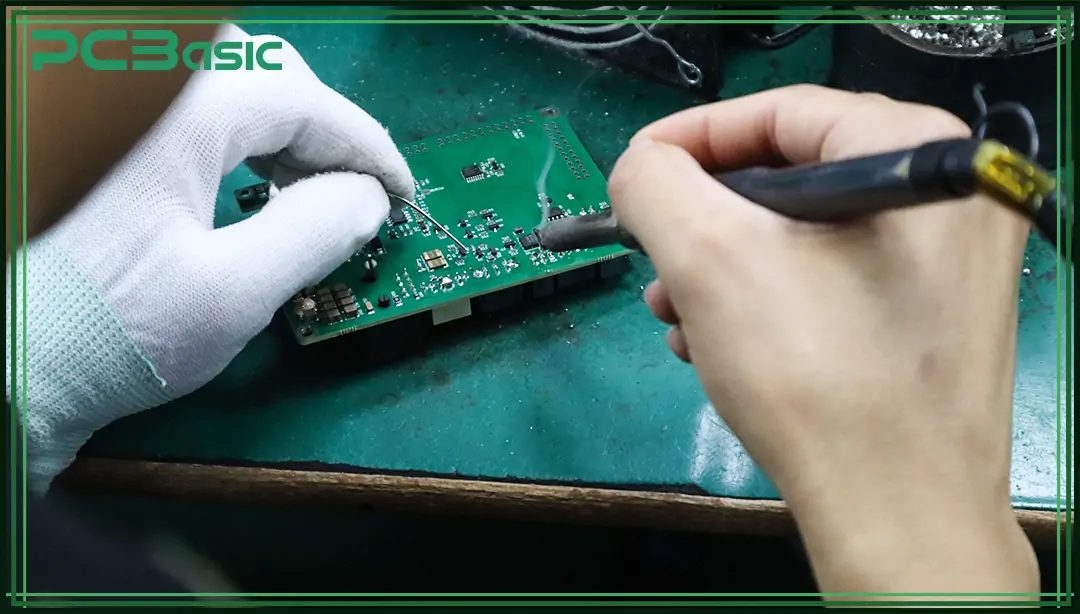
Soldering temperature describes the heat level used to melt solder, which creates an electrical connection between metal surfaces. Are you wondering what temp solder melts? The melting point of solder determines the required heat level for soldering, which changes with solder composition.
For example:
● The Sn63/Pb37 lead-based solder becomes liquid when heated to 183°C (361°F).
● The lead-free solder known as SAC305 has a melting range between 217 to 221°C (423 to 430°F).
The actual temperature for soldering will vary based on the chosen method, the equipment, and the specific PCB requirements.
Here are some of the most common soldering methods. Let's examine them and learn about their ideal temperature ranges.
Reflow soldering is widely used for surface-mount components. It ensures strong connections through controlled heating. The process follows a precise temperature profile.
1. Preheat Stage: The board is heated gradually to 150-180°C (302-356°F), preventing
thermal shock.
2. Soak Stage: The temperature stabilizes at 180-200°C (356-392°F). Flux activates,
removing oxidation.
3. Reflow Stage: Heat peaks at 230-250°C (446-482°F). Solder melts to form solid
joints.
4. Cooling Stage: The board cools down slowly.
This prevents cracks and ensures durability.
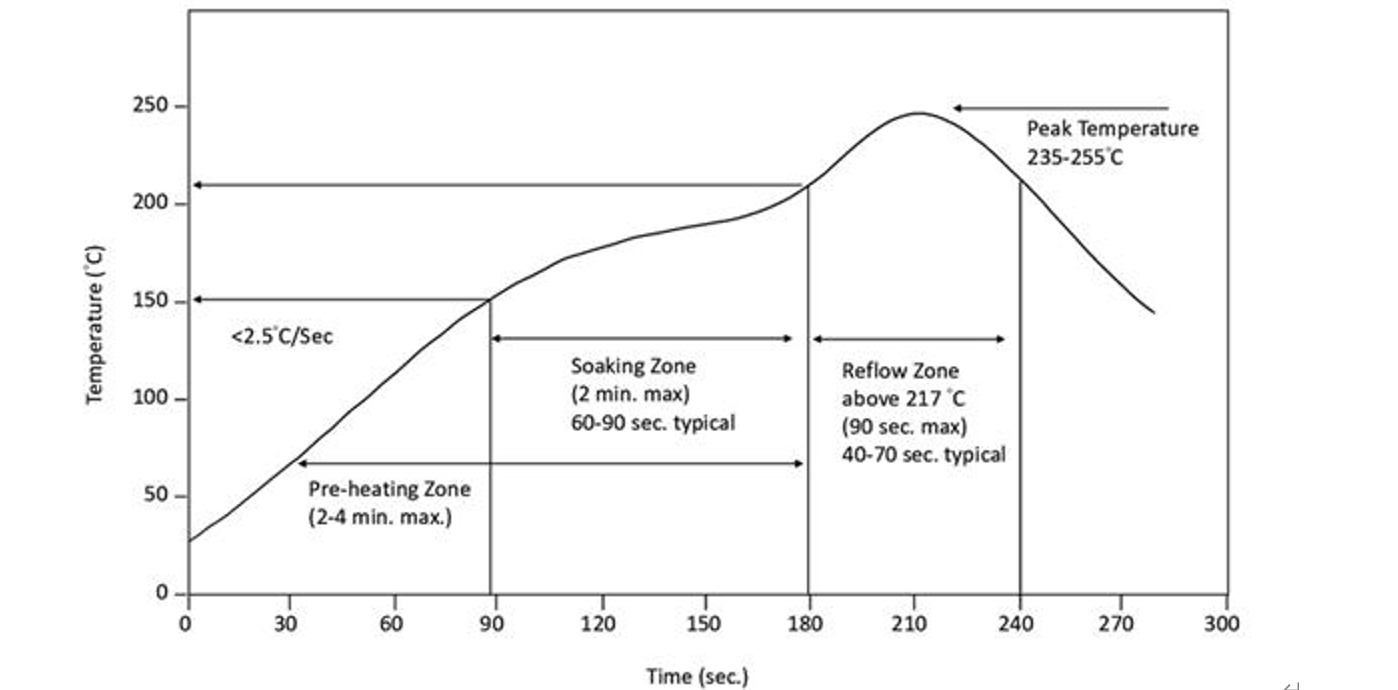
Each step matters. Too much heat can damage components. Too little leaves weak joints. A proper soldering temperature chart helps control the process. This way it guarantees high-quality results.
This method is quite simple, yet it requires controlling many variables to avoid serious defects. In wave soldering, components with leads inserted are placed on a printed circuit board. Then, this assembly is placed on a conveyor. It passes over a molten solder wave, forming strong electrical connections.
The process has four steps. First, the board is preheated to reduce thermal shock. Next, it moves over the solder wave, where components are bonded. Then, excess solder drains off. Finally, the board cools to solidify the joints.
● Preheat: 80-120°C (180-250°F)
● Solder Wave: 240°C to 260°C (460°F to 500°F)
● Cooling: Controlled to prevent stress fractures.
Common Applications: Most commonly used in the mass production of PCBs. It is used for both through-hole printed circuit assemblies and surface mounts.
Hand soldering is one of those skills that looks simple but takes some finesse. Whether you are fixing a circuit board, assembling a prototype, or just messing around with electronics, the right soldering iron temperature makes all the difference.
Different solders need different heat levels.
● Lead-Based Solder: Traditional lead-based solder, such as the 63/37 tin-lead alloy, melts at approximately 183°C (361°F). You can achieve optimal flow and adhesion if you set the soldering iron temperature between 330°C and 370°C (626°F to 698°F). This range allows efficient soldering while minimizing the risk of thermal damage to components.
● Lead-Free Solder: Lead-free solders, like the Sn99.3%/Cu0.7% alloy, have a higher melting point of around 227°C (441°F). Consequently, higher soldering iron temperature is necessary. Many professionals suggest settings between 350°C and 400°C (662°F to 752°F) to ensure proper melting and bonding. However, some users have reported successful soldering at lower temperatures, around 225°C to 250°C (437°F to 482°F), depending on the specific solder composition and application.
Common Applications: Repairing electronic devices, making DIY projects, developing prototypes for new gadgets, aerospace and defense, robotics, and more.

Several factors affect the right setting. Therefore, no fixed temperature fits all applications.
● PCB thickness: Thicker boards require higher heat to ensure complete wetting.
● Component type: Sensitive chips demand lower temperatures to avoid damage.
● Solder alloy: Lead-free variants need more heat than traditional lead-based solder.
● Production volume: Automated processes require precise control for consistency.
Matching solder melting temperature with the right process prevents failures while ensuring efficient assembly.
Getting the right soldering temperature is crucial. Too hot or too cold, and you will run into problems. Let’s break it down.
Good temperature control means strong, reliable joints. If the solder does not reach the right heat, it will not bond properly. This leads to weak connections that can fail over time.
Excessive heat can burn circuit boards and damage delicate components. Some parts, like ICs and capacitors, are especially heat-sensitive. If overheated, they may stop working entirely.
The wrong temperature can cause defects like:
● Cold solder joints (dull, weak connections that break easily).
● Bridging (excess solder forming unwanted connections).
● Tombstoning (small parts lifting off the board instead of sitting flat).
Keeping the right heat helps avoid these issues.
Soldering needs to be consistent in mass production. If temperatures vary too much, quality drops. A stable soldering process improves efficiency and reduces faulty products.
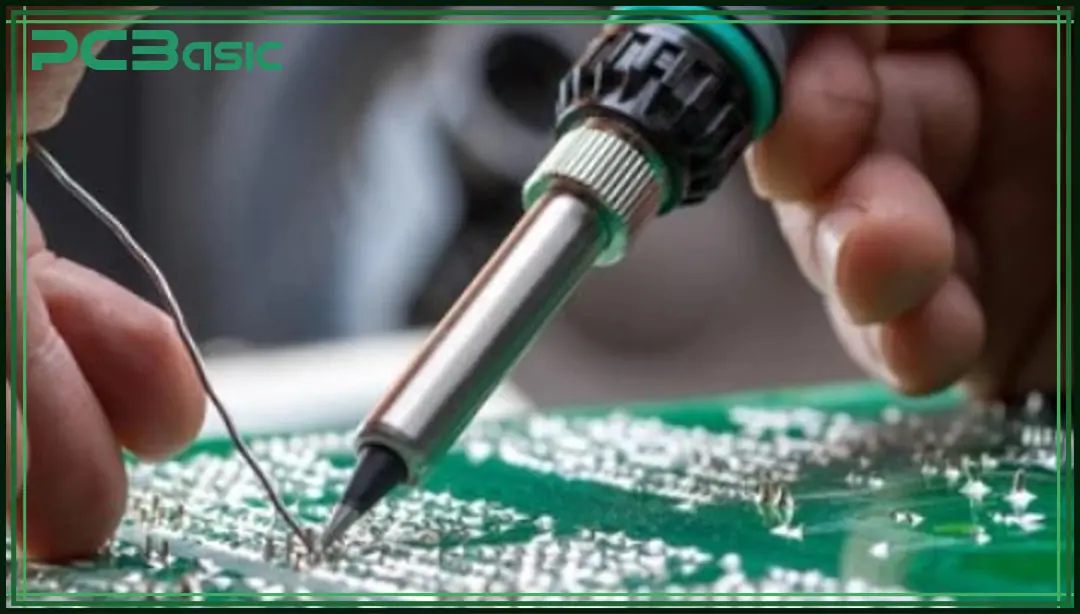
Good soldering is totally about control. Here is how to get it right.
Soldering irons, reflow ovens, and wave soldering machines should have adjustable temperature settings. This keeps the heat stable for better results.
Reflow soldering needs a specific temperature profile. The board must heat up gradually, reach the right peak temperature, and cool properly. A well-tuned profile prevents defects.
Always check the recommended solder melting temperature for your solder paste or wire. Different alloys require different heat settings.
The way a board is designed affects heat flow. Good practices include:
● Adding thermal reliefs to prevent heat from spreading too fast.
● Placing components wisely to avoid overheating sensitive parts.
By controlling temperature for soldering, you ensure better quality, fewer defects, and a smoother production process.
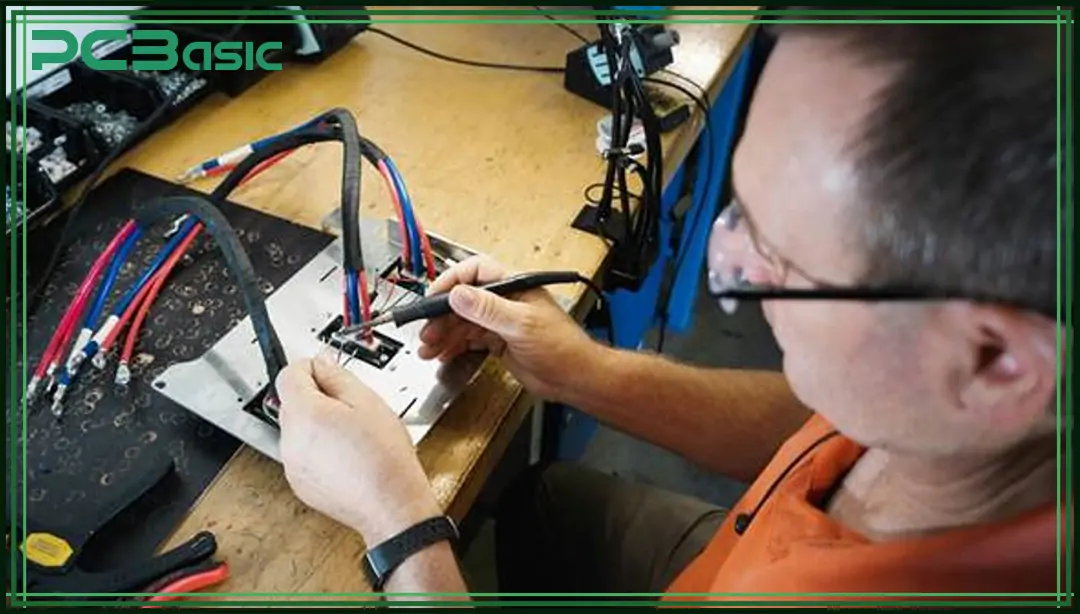
Soldering might seem simple. Heat the joint, melt the solder, and you're done. But if the temperature isn’t right, things go wrong fast. Sometimes, the damage is immediate. Other times, issues show up weeks or months later. Here’s what happens when soldering temperatures aren’t dialed in correctly.
Have you ever seen a solder joint that looks rough, grainy, or dull? That is a cold joint. It happens when the solder does not fully melt or bond well to the metal. The result is a weak connection that can break under the slightest pressure.
Bad wetting is another issue. The solder should flow smoothly and stick to the pad and component lead. If it beads up or pulls away, that is a sign the temperature was too low. Poor wetting leads to unreliable connections, which can cause circuit failures later.
Fix it:
● Make sure the iron is hot enough for the solder melting temperature.
● Use fresh solder with good flux content.
● Hold the iron on the joint just long enough—too short, and it would not bond. Too long, and you risk heat damage.
Electronics do not like extreme heat. Delicate parts can crack or burn if the soldering iron temperature is too high. Capacitors are especially vulnerable. Overheating them can cause internal fractures, which might not be visible but lead to failure over time.
Delamination is another issue. PCBs have multiple layers bonded together. Too much heat can make those layers separate, ruining the board. This is common in multi-layer PCBs used in advanced electronics.
Avoid it:
● Use a temperature-controlled soldering iron or reflow oven.
● Limit how long heat is applied to each component.
● Preheat large boards to prevent sudden thermal shock.
When metal gets too hot, it oxidizes. This thin oxidation layer prevents solder from sticking correctly, weakening joints. You might notice solder pulling away from the pad or forming uneven blobs.
Solderability also depends on the quality of your materials. Old solder, contaminated flux, or a dirty soldering iron tip will all cause problems.
Prevent it:
● Keep soldering iron tips clean by wiping them regularly.
● Use fresh solder and good-quality flux.
● Store solder properly to prevent oxidation buildup.
Heat expands metal. When things cool, they shrink. Tiny cracks form if a solder joint goes through too many extreme temperature changes. Over time, these cracks grow, and the connection fails.
This is a big problem in devices exposed to temperature swings, like car electronics or industrial equipment.
Reduce stress:
● Use the right temperature for soldering to avoid unnecessary heating cycles.
● Avoid excessive rework, which weakens joints.
● Follow the manufacturer's guidelines or soldering temperature chart for temperature limits.
Getting the soldering temperature right is about making sure your connections last. The solder will not flow properly if the heat is too low, leading to weak joints. Too high, and you risk damaging components or warping the board. Every material and method has its sweet spot, so using temperature-controlled tools and following manufacturer guidelines makes all the difference.
In the end, good soldering is about precision. The right heat ensures solid connections, fewer defects, and lasting electronics.

Assembly Enquiry
Instant Quote
Phone contact

+86-755-27218592
In addition, we've prepared a Help Center. We recommend checking it before reaching out, as your question and its answer may already be clearly explained there.
Wechat Support

In addition, we've prepared a Help Center. We recommend checking it before reaching out, as your question and its answer may already be clearly explained there.
WhatsApp Support

In addition, we've prepared a Help Center. We recommend checking it before reaching out, as your question and its answer may already be clearly explained there.
