You may be thinking when you see this title, what is a presensitized PCB. Indeed, presensitized PCB is not the mainstream circuit board production solution, perhaps you know but do not know much about it. In electronic prototyping and low-volume production, presensitized PCB is a convenient and cost-effective solution that can help you quickly turn your circuit design into a physical object. Next, let me lead you to understand the types, characteristics, exposure time and procurement recommendations of the presentisized PCB introduced in this article.
Whether you're an electronics enthusiast, an educator, or an engineer, knowing how to use presensitized PCBs can greatly improve the efficiency of your projects.
What is a presensitized PCB?
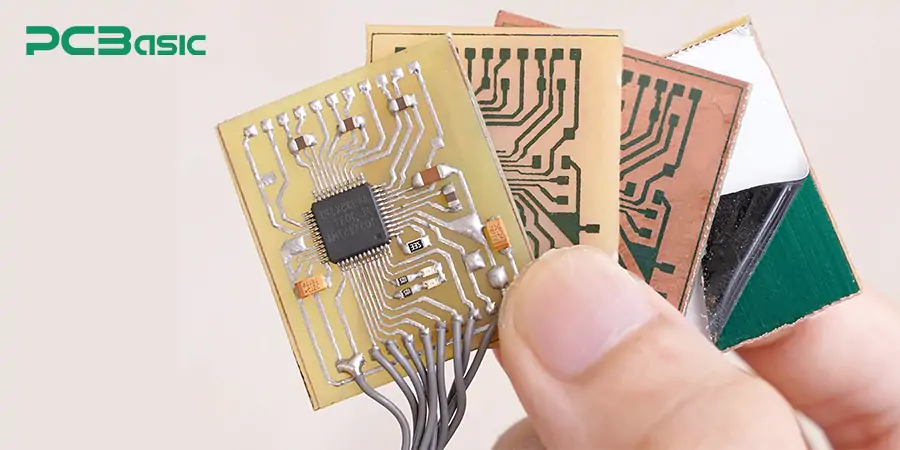
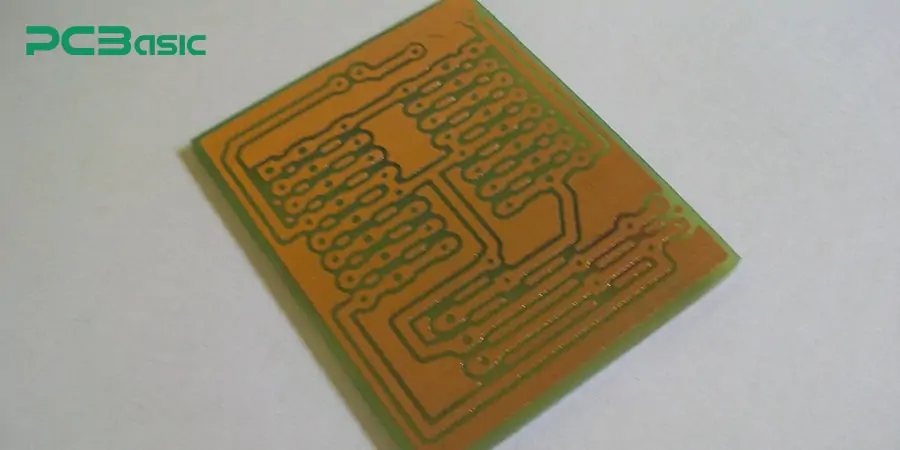
Presensitized PCB is a printed circuit board pre-coated with a Photoresist layer. The reason why it is called "presensitize" is because this PCB has been covered with a uniform layer of light-sensitive material at the factory, and only needs to use ultraviolet (UV) exposure and development/corrosion treatment to "develop" the circuit pattern on the board to make a complete circuit board. (No need to apply photoresist)
Unlike traditional PCBs, presensitized PCBs do not need to be manually coated with photoresist and can be used when unpacked, making them particularly suitable for single-side PCBs, rapid proofing and prototyping projects, and teaching purposes. Presensitized PCBs have a number of advantages, including no manual gluing, reducing errors; high precision pattern, clear details; suitable for small batch fast production; the result is professional, the finished product is clean; a wide selection of sizes and thicknesses, wide availability, etc.
Common Types of Presensitized PCB
Presensitized PCB can be divided into several different types according to the structure and photographic type, which can be adapted to a variety of application needs:
|
Type
|
Features
|
Applications
|
|
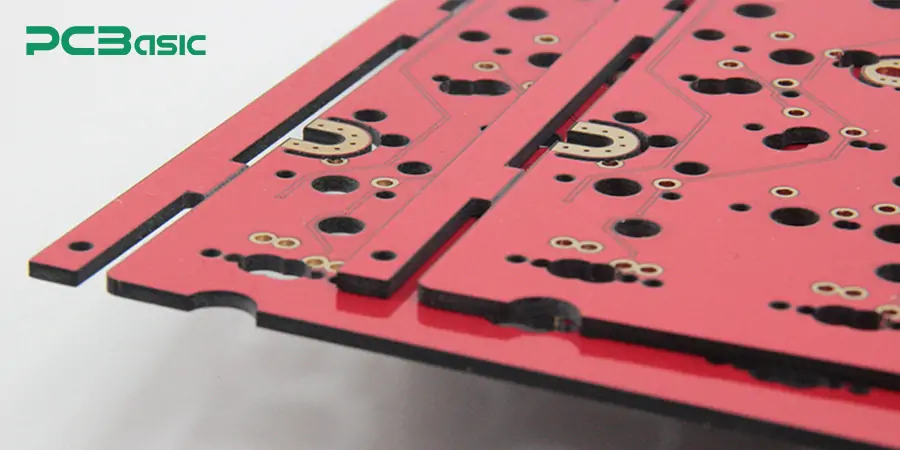
Single-Sided Presensitized PCB
|
Photoresist on one side, low-cost, simple design.
|
Beginners, DIY projects, low-density circuits.
|
|
Double-Sided Presensitized PCB
|
Photoresist on both sides, more complex designs.
|
Medium-complexity circuits requiring double-sided connections.
|
|
Positive Presensitized PCB
|
Exposed areas harden, unexposed areas removed.
|
Precision single-sided designs.
|
|
Negative Presensitized PCB
|
Exposed areas removed, unexposed areas retained.
|
High-precision, complex circuits.
|
|
Multilayer Presensitized PCB
|
Multiple layers for high-density circuits.
|
High-frequency, communication equipment.
|
|
High-Temperature Presensitized PCB
|
Made for high-temperature environments.
|
Automotive, aerospace applications.
|
|
Corrosion-Resistant Presensitized PCB
|
Coated for corrosion resistance.
|
Industrial, sensors, control circuits.
|
|
Thin Presensitized PCB
|
Thinner design for compact spaces.
|
Mobile devices, wearables, small electronics.
|
The above several presensitized PCBs are the more common types. Among these several presensitized PCBs, positive presensitized PCBs are more popular with DIY users on the market.
Characteristics of Presensitized PCB
The main features of the presensitized PCB board are as follows:
No need to glue themselves, simple operation: the surface of the PCB board is already coated with photoresist (photosensitive material), there is no need to manually coat the photoresist, you can directly perform UV exposure and development operations. This reduces the complexity of manual operations and possible errors.
High circuit transfer accuracy: After UV exposure, the PCB pattern can be directly transferred to another PCB, suitable for fine line width circuit design, high accuracy.
High environmental requirements: the photosensitive layer requires high photosensitivity, and needs to be careful when saving (usually stored in the dark) to avoid contact with the light source.
Surface Preparation of Presensitized PCB
If you want to ensure the successful transfer of circuit patterns, then preparing the surface of the presensitized PCB is a key step. Proper surface preparation avoids problems during exposure and development, ensuring clarity and quality of the final circuit. The following are the main steps to prepare the surface of a presensitized PCB:
1. Use isopropyl alcohol or stain remover to thoroughly clean the PCB surface to remove dust, grease and other contaminants. It is necessary to remove pollutants, because pollutants will interfere with the adhesion of the photoresist, resulting in unclear circuit transfer. In the cleaning process, it is also necessary to use a dust-free cloth or soft cloth (avoid touching the PCB directly with your hands) to avoid leaving fingerprints.
2. Use an oxide remover to remove the oxide layer on the PCB surface. (The oxide layer will prevent the photoresist from sticking, affecting the exposure effect.)
3. Check the flatness of the PCB surface to ensure that the PCB surface is smooth, without damage or scratches. Because the PCB surface is uneven, the exposure will be uneven, affecting the accuracy of the pattern.
4. Wear an ESD bracelet. Because the photosensitive layer is sensitive to static electricity, it is necessary to avoid generating static electricity during operation.
5. Do not operate under strong light, especially UV light source. And should be stored in a dark environment.
Any mistake in the preparation process may result in distortion or missing circuit patterns, so each step must be handled carefully.
Exposure Time and Skills of Presensitized PCB
The exposure time and skills of the presensitized PCB are also key steps to ensure the successful transfer of patterns and the production of high-precision circuits. Because exposure time that is too long or too short will affect the clarity and accuracy of the circuit. Here are some tips and tricks on exposure time to help you get the best results:
1. Factors
UV light source intensity: Different UV lamps or exposure machines have different light intensity, the higher the intensity, the shorter the exposure time.
The thickness of the photosensitive layer: the thicker the photosensitive layer requires a longer exposure time.
Quality of transparent film: The higher the clarity of the film the shorter the exposure time.
The size and structure of the plate: the larger the plate, the longer the exposure time is required.
2. Recommended exposure time
The exposure time of the positive presensitized PCB is about 2 to 5 minutes, but it can be adjusted appropriately according to different light sources and plates. The best way is to do a test exposure to get a more accurate exposure time.
Recommended exposure time:
UV lamp (such as ordinary ultraviolet lamp) : 3-5 minutes
UV exposure machine: 2-3 minutes
3. Exposure skills
Uniform exposure: Ensure that the distance between the UV lamp and the PCB surface is uniform. If the UV lamp is used, it is recommended to keep the plate 20-30 cm away from the lamp to avoid concentrated or uneven light.
Alignment of transparent film: Before exposure, the transparent film and the PCB are closely connected to avoid air entry and ensure that the pattern is clear. The film can be pressed using a clamp or clear glass.
Avoid overexposure: Overexposure can cause the photoresist to harden too much, making it difficult to remove unexposed areas, resulting in wider lines or unclear patterns.
Avoid underexposure: Underexposure can cause unexposed areas to fail to develop and patterns to be blurred or incomplete.
4. Post-exposure treatment
After the exposure is complete, the development process should be carried out immediately. And using an appropriate developer (such as sodium carbonate solution), the unexposed photoresist is removed to reveal the circuit pattern.
Tenting in Presensitized PCBs
In presensitized PCBs, tenting refers to the use of photosensitive adhesive to seal certain areas of the PCB, usually to protect specific areas from chemical corrosion or to avoid welding and electrical connections in subsequent processes. The process of tenting involves covering the surface of the copper wire or hole with a layer of photosensitive glue so that during exposure and development, the photosensitive glue covering part of the area is not removed, forming a protective film.
Tenting is usually used for hole sealing: on holes that do not need to conduct electricity, the tenting technique is used to cover these holes. This prevents solder from entering the hole in subsequent processes and affecting electrical performance. It can also protect the wiring: cover the copper wiring that does not need to be exposed, preventing them from being damaged during subsequent chemical etching. Tenting technology in presensitized PCBs can effectively improve the reliability and long-term performance of PCBs, especially when dealing with high-density circuits.
Conclusion
After reading this article, do you know more about presensitized PCB? Presentisized PCB provides a simple and efficient solution for users who need quick prototyping without going through a full manufacturing process. Whether you are designing a single-sided PCB for a small sensor module or want to create a high-precision microcontroller circuit, this board provides the ideal balance between cost, efficiency and quality. To learn more, contact PCBasic now.