Global high-mix volume high-speed Shenzhen PCBA manufacturer

Ru
9:00 -18:00, Mon. - Fri. (GMT+8)
9:00 -12:00, Sat. (GMT+8)
(Except Chinese public holidays)


Global high-mix volume high-speed Shenzhen PCBA manufacturer

Ru
9:00 -18:00, Mon. - Fri. (GMT+8)
9:00 -12:00, Sat. (GMT+8)
(Except Chinese public holidays)


HomePage > Blog > Knowledge Base > How to Discharge a Capacitor?
In electronic engineering, capacitor discharge is a necessary step because it is not only related to the safety of operation but also to the efficiency and accuracy of subsequent work. Similarly, in PCB manufacturing and maintenance, capacitor discharge is also a crucial step; before assembly, testing and maintenance, capacitors need to be safely discharged so that the safety and efficiency of the entire manufacturing process can be ensured. So how to safely and efficiently discharge a capacitor? The following article will introduce in detail the necessity, safety measures, common methods and tools of capacitor discharge, hoping to help you complete capacitor discharge.
Capacitors are found in a wide range of electronic devices, such as televisions, computers, air conditioners and other household appliances. It stores charge in the energized state, and even after the device is powered off, there is still a high voltage charge inside the capacitor, which can lead to electric shock accidents. Therefore, the capacitor should be discharged before repair, replacement or operation.
Discharging capacitors can also prevent electrical components from being damaged by accidental short circuits because when disassembling or reassembling circuits, if the capacitor is not discharged, the stored electrical energy can cause unexpected current flow and damage sensitive components on the circuit board.
Undischarged capacitors can not only damage circuit boards and other components but may also endanger the safety of operators. So, high-voltage capacitors on PCB boards must be discharged; otherwise, the risk of short circuits will increase, affecting the performance and reliability of the circuit board.
Before learning how to safely discharge capacitors, we need to understand the basics of capacitors.

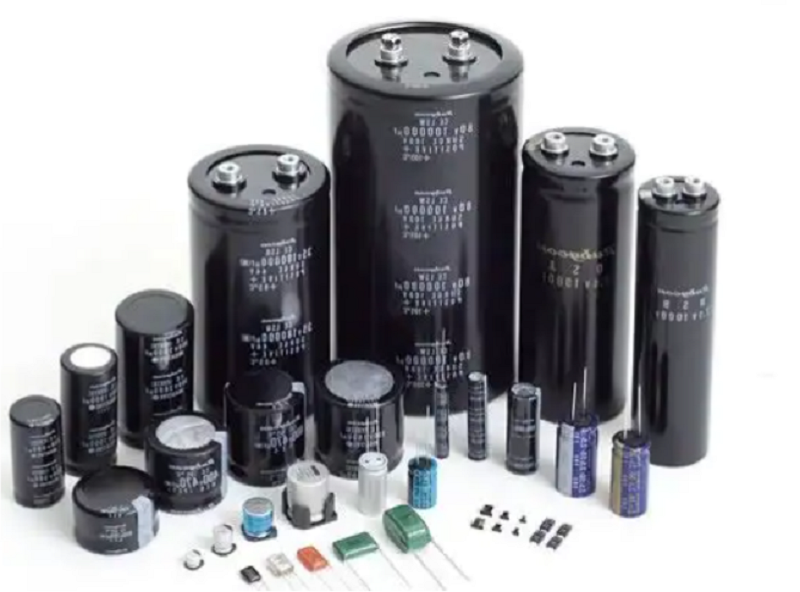
Different types of capacitors have different discharge characteristics (know more about capacitor types and capacitor symbol). For example, the commonly used capacitors on PCBs are ceramic capacitors and electrolytic capacitors. They have different discharge speeds and discharge characteristics: electrolytic capacitors discharge slowly, while ceramic capacitors discharge quickly; the self-discharge rate of electrolytic capacitors is relatively high, while the self-discharge rate of ceramic capacitors is low. Understanding the types of capacitors and discharge characteristics will help us choose the appropriate discharge method and improve the safety of operation.
The rated voltage and capacitance of the capacitor can be seen on the shell of the capacitor or its data manual, and its voltage and capacitance will affect the amount of charge it stores. Therefore, when discharging a capacitor, it is necessary to check its rating, choose the appropriate discharge mode, and not exceed its safety threshold to prevent damage to the capacitor or create safety hazards.
When handling charged capacitors, wear appropriate personal protective equipment (such as insulating gloves and goggles) to prevent electric shock. And check the surroundings to ensure that there are no flammable materials or other dangerous factors around.
Low voltage capacitors:
Do not need special discharge tools.
Medium-voltage capacitors:
Need discharge tools like discharge rods and safety glasses.
High voltage capacitors:
Need professional discharge tools like high-voltage discharge rods, insulated protective gear and voltage detectors.
1. Metal tools (such as screwdriver) :
A metal tool is used to short-wire the poles of the capacitor so that the capacitor can discharge quickly. Before using this method, the operator should ensure that the handle of the tool has good insulation protection, and then ensure that the insulation gloves and safety glasses are worn to prevent the debris when the capacitor is damaged. When operating, you must also be careful because discharging a capacitor through metal tools can easily cause an accidental short circuit.
2. Light bulbs:
To discharge a capacitor with a light bulb, you only need to connect an ordinary light bulb to both ends of the capacitor, and then the resistance of the light bulb will gradually discharge the capacitor. At the time of discharge, the bulb will light up; although the speed of discharge is slower, it helps to observe the process of discharge and also reduces the thermal damage to the capacitor.
3. Bleed resistor:

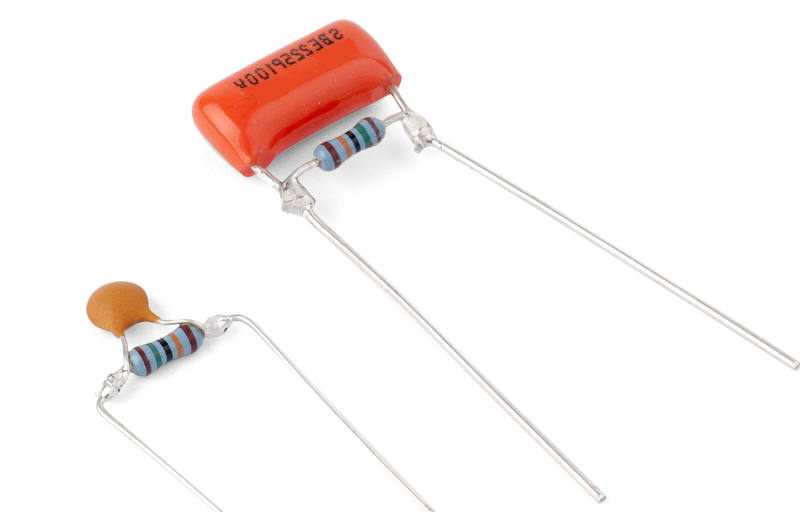
This method is to select a suitable resistance value of the resistor connected to both ends of the capacitor, and then safely discharge; this method can effectively reduce the spark and instantaneous current generated during discharge and improve the safety of the discharge process. What needs attention is the choice of resistance. Choose a resistance that is large enough to ensure that the discharge current is within a safe range and that the power of the resistance can withstand the energy generated during the discharge process.
4. Discharge tool with resistance probe:
Most automatic discharge tools have user-friendly interfaces, usually contain built-in resistors and control circuits, and are specifically designed to discharge capacitors with high voltage and large capacity. It can automatically control the discharge speed and current to prevent capacitor and circuit damage. It is suitable for industrial applications where frequent or specific conditions are required to power down, such as the maintenance of power systems, high-voltage test equipment, and environments where equipment safety needs to be ensured on production lines.

|
Step |
Tools |
Specific Operations |
Safety Precautions |
|
1. Check Capacitor Voltage |
Multimeter |
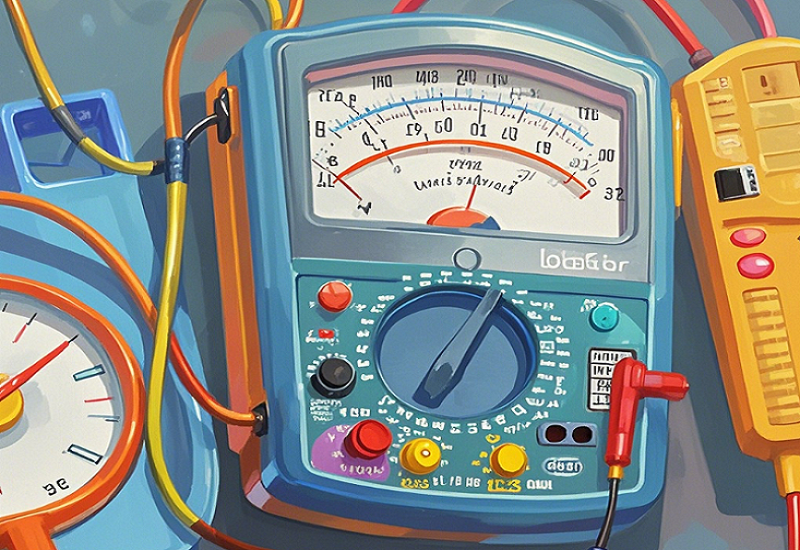
First, check the voltage rating of the capacitor and select the appropriate tools and precautions. Then, set the multimeter to the suitable DC voltage range to detect any residual voltage across the capacitor terminals (connect the black probe of the multimeter to the negative terminal of the capacitor and the red probe to the positive terminal, and read the voltage value). |
Ensure the correct voltage range is used on the multimeter. |
|
2. Prepare Discharge Resistor and Connection Wires |
Suitable power resistor, wires, and clips |
Choose an appropriate resistor based on the voltage and capacity of the capacitor (the resistor should have sufficient power capacity, usually at least twice the energy capacity of the capacitor). |
The power of the resistor should be sufficient. |
|
3. Connect the Resistor to the Capacitor and Begin Discharging |
Insulated gloves, wires, and clips |
Use clips to securely connect the wires to both the resistor and the capacitor, ensuring good contact. First, connect the resistor: clip one end of a wire to one end of the resistor and the other wire to the other end of the resistor. Then connect to the capacitor: connect one end of the wire clip to the positive terminal of the capacitor and the other wire clip to the negative terminal. Maintain the connection for a few seconds to allow the capacitor to discharge through the resistor. |
Wear insulated gloves. |
|
4. Monitor the Discharging Process |
Multimeter, safety glasses |
Wear safety glasses and closely monitor the discharging process, keeping an eye on whether the resistor overheats. |
Use safety glasses. |
|
5. Re-check Capacitor Voltage |
Multimeter |
A few seconds after discharging, use the multimeter to check the voltage across the capacitor terminals again to ensure the voltage has dropped to near zero. If the voltage is near zero, the capacitor is safely discharged. If the residual voltage remains, repeat the discharging steps. |
Ensure the voltage drops to a safe level. |
|
6. Completion
|
No need |
Disconnect all connections and tidy up the tools. |
Wear insulated gloves. |
Using a multimeter to discharge capacitors is a safe and reliable method, as long as you follow the correct steps and take the necessary safety measures. If you have any questions, please feel free to contact us.

Assembly Enquiry
Instant Quote