Global high-mix volume high-speed PCBA manufacturer
9:00 -18:00, Mon. - Fri. (GMT+8)
9:00 -12:00, Sat. (GMT+8)
(Except Chinese public holidays)
Global high-mix volume high-speed PCBA manufacturer
9:00 -18:00, Mon. - Fri. (GMT+8)
9:00 -12:00, Sat. (GMT+8)
(Except Chinese public holidays)
HomePage > Blog > Knowledge Base > PCB Soldering| Soldering Types, Steps and Techniques
PCB soldering is a technique of utilizing solder to unify two small pieces onto the surface of an electric circuit board. This is a necessary process of converting electrical components to a printed circuit board (PCB), which is important for the PCB board to perform as intended. Everyone working with electrical circuits has to know how to solder PCBs. Let's discuss different types of PCB soldering and soldering steps in detail!
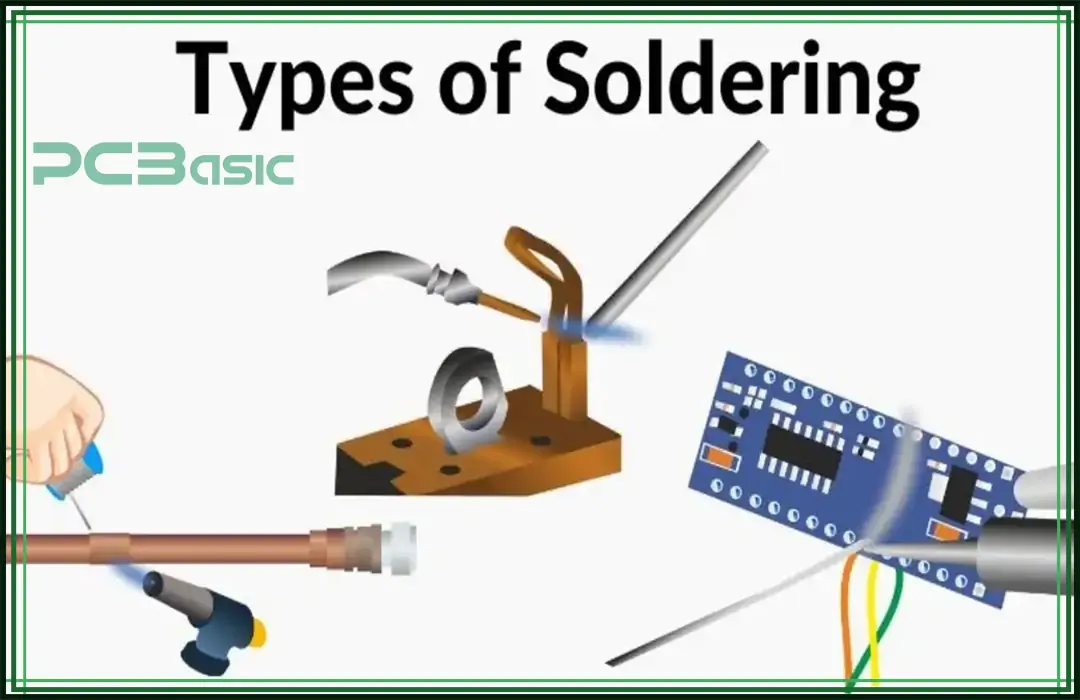
Here are the different types of PCB soldering:
The tin/lead composition completes a soldering circuit board with a lower melting point. Two pieces integrate via welding with the help of the same base metal. However, because copper and other soldering components have high melting temperatures, raising the material's temperature to solder may be a tough task. This is why the tin/lead mixture successfully unifies two metals, copper and brass.
Electrical connections among fragile constituents, such as resistors and capacitors, can be made using solder with a low melting temperature. One alloy that is often used for electrical soldering is 60/40 Sn-Pb. Another alloy, 63/37 Sn-Pb, is mainly used in electrical work and melts at 188 °C (370 °F).
Many lead-free solder alloys have previously adjusted the conventional eutectic Sn–37Pb, some of which have earned significant attention. Tin (Sn) is the particular component of lead-free solders, with small amounts of alloying metals like silver (Ag), copper (Cu), zinc (Zn), indium (In), etc. There are lead-free solders for ternary and binary systems. Several well-known binary systems have already been explored, including Sn–Ag, Sn–Cu, Sn–Zn, Sn–Bi, and Sn–In. Sn–Ag–Cu, Sn–Ag–Bi, and Sn–Zn–Bi are examples of ternary systems.
Wire solder with flux in the middle of the wire is usually referred to as flux core solder. Wire solder usually has a 2% to 3% flux concentration by weight.
To improve the joint, the flux melts first and cleans the metal surfaces. Liquid or gel flux is constantly used in concurrence with flux-cored wire solder. This extra flux improves soldering even more, particularly on challenging surfaces.
Many electrical applications, containing the repair of through-hole, mixed, and surface-mount components, are called flux core solder. It's the best choice for commercial hand soldering applications.
Flux-core solder provides a top-notch bond and cleans metal surfaces during the melting process, simplifying wire soldering. By minimizing vacancies, flux strengthens solder junctions and improves contact and connection. Certain flux-core soldering types, like those provided by FCT Assembly, can be used to solder metals, including brass, nickel, and oxidized copper, which have historically proven to be challenging metals. Typical solder alloys make flux-cored wire solder available without requiring clean or water-soluble fluxes.
Silver alloy solders are made of copper, silver, and other metals and fuse different elements. Because of their high melting point, they are best fit for uses that need strength and durability, such as plumbing, electronics, and jewelry production.
Silver solders come in a mixture of shapes, each with incomparable properties. Cadmium-free silver solder is a safer option in many applications because cadmium is a poisonous metal that can damage human health.
Silver soldiers' central welfare features are their power to withstand wear and decay. This results in developed soldering quality and a prolonged service life.
When choosing silver solders, the type of metal to be attached, the desired joint choice, and the temperature range should all be kept in mind.
Achieving the correct temperature for soldering electronics is crucial for ensuring durable and reliable connections. Typical temperatures vary depending on the solder type:
• Lead-based solder: 180-190°C (356-374°F)
• Lead-free solder: 217-227°C (423-440°F)
• Silver alloy solder: 250°C (482°F) or higher
Maintaining consistent temperature for soldering electronics prevents overheating and damage to soldering components.
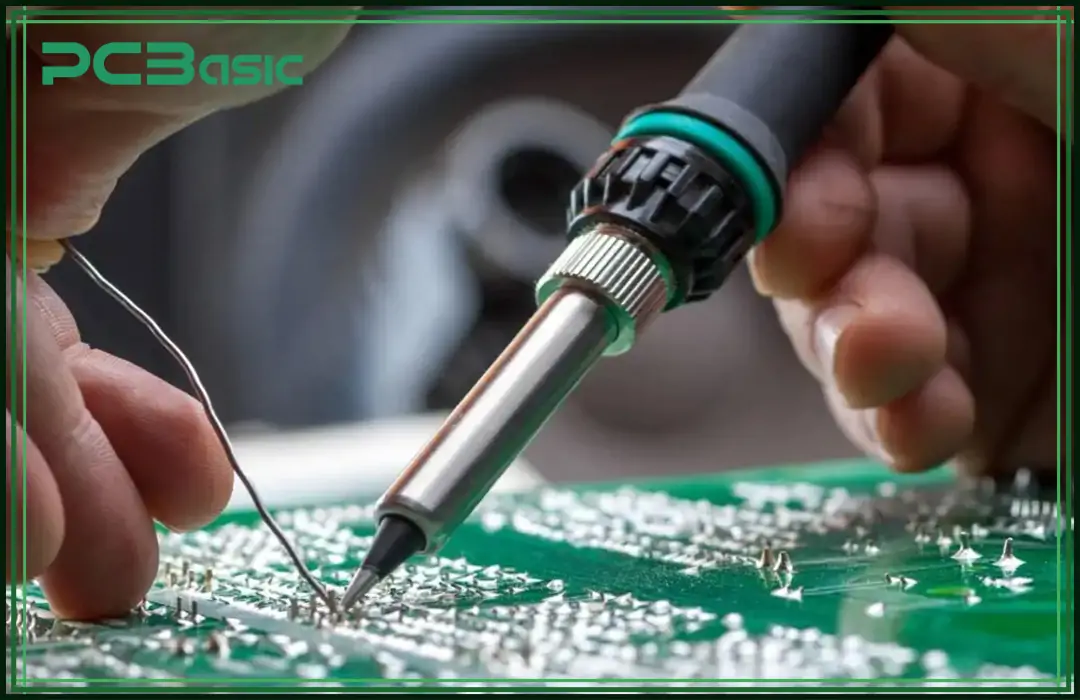
Here are the different types of PCB soldering techniques:
The method of connecting small elements to the bigger PCB involves soft soldering, the most used soldering technique. Under the high temperatures of the heat source, these tiny components, which typically have a low liquefying temperature, will start to disintegrate. A further procedure needs to be followed to attach the element to the board rather than just melting the part. In this instance, this additional step is a filler metal, usually a tin-lead alloy.
This alloy's melting point must be above 752 degrees Fahrenheit, making it an important element. This alloy is a binding force between the component and the board, holding the two together firmly and making it necessary throughout the soldering process. The heat required for this project is usually provided by a gas torch, which breaks down the alloy and unites the components to the board.
Hard soldering is joining two different metal elements together by spreading a solid solder throughout the holes of the component that become freed when exposed to high temperatures. This process produces a stronger bond. Silver soldering and brazing are the two tiny sub-processes that contain the larger process of hard soldering.
As the name refers, silver soldering uses a silver alloy, typically cadmium-silver, as a space-filling metal. This process is applied to maintain and fabricate tiny parts on a circuit board. Silver provides a free-flowing uniqueness, yet it's not usually the best material for filling a void. For this reason, distinct fluxes are typically utilized to produce dependable silver soldering.
Brazing is a soldering process that unites two base metal terminals using liquid filler metal. This filler attracts a vessel through the board's joints and, after cooling, creates a union by diffusion and atomic magnetism. As a result, the two distinct ends are joined by a sturdy joint. Brass is usually used as the filler agent in brazing.
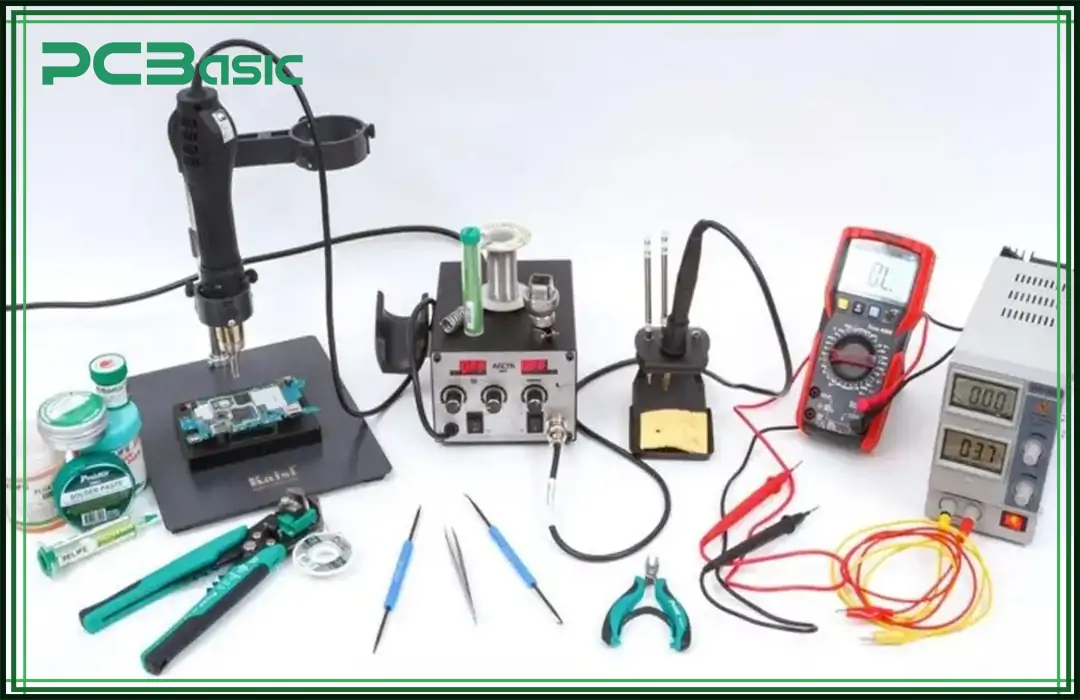
There are different necessary tools used for PCB soldering. Let's discuss what kind of solder for circuit boards used:
This durable tool provides the heat source required to melt the solder. Usually shaped like a pencil, soldering irons have different components that unite to create a comfortable, applicable, and simple tool.
Larger soldering guns are also available, albeit most irons are moderate. These soldering guns are often utilized when excess heat is required for more precise applications, including jewelry creation. Additionally, soldering guns cool significantly faster. Regardless of size or shape, all soldering irons have the same important parts, which include:
Tip: Recall this as the lead at the pencil's tip and the surface of the iron that will come into connection with the solder. This area is used to melt the solder. The tip has an iron plating over a copper core. Having a clean tip is important for soldering well. Moreover, tips are convertible and should be adjusted according to the kind of job you're working on.
• Wand: The iron part you will hold onto is its handle. Usually, the wand has a padded grip to give you something to hold onto while protecting you from the iron's heat.
• Solder wick: Consider the solder wick as the eraser if the tip of your soldering iron is made up of the lead of a pencil. The solder wick destroys surplus solder that is not required by braiding copper wire together. To eliminate extra solder, you can also employ solder suckers.
• Rest: Although not a part of the iron itself, the rest is a necessary add-on that lets you put the iron down so your hands are free. If you put the hot iron straight on your table, counter, or workspace, the rest would protect it from harm.
Solder flux is a cleansing agent. Flux fulfills three features in one regarding soldering, making it an important element for every job:
1. It purifies any rust from the element you're soldering.
2. It leaves out any additional air that would come into contact with the substance, halting further rust.
3. It better the solder's unique dripping quality.
Soldering paste is a gray substance that matches putty. The different leads of chip packages are connected to the connector ends on a PCB using this paste.
Follow the below PCB soldering steps:
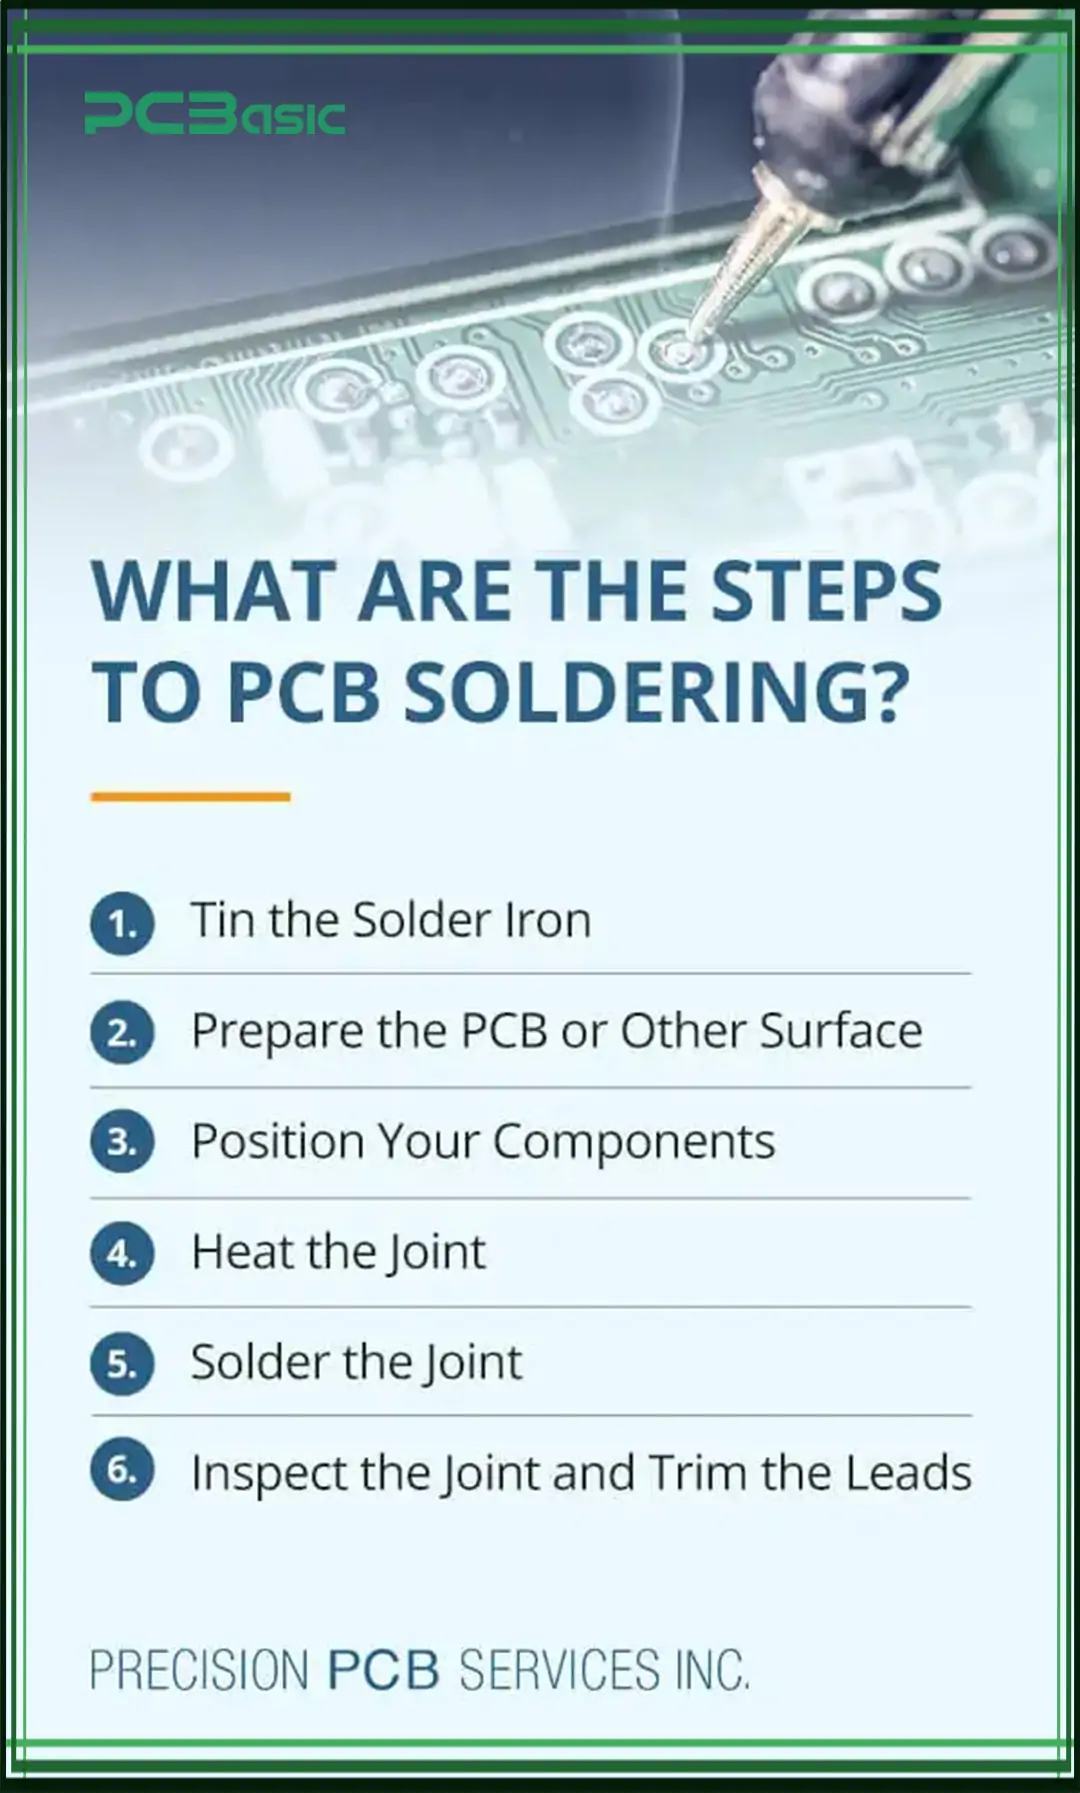
Tinting is an important part of the solder iron preparation process. In addition to protecting the tip from unnecessary abrasion, tinning helps pass heat from the iron to the soldering surface. To keep the iron's tip sharp and prolong its life, tin it before and after each use.
Before starting a new project, wipe the iron's tip with a moist sponge once it heated up. Once clean, dip the iron tip into the solder to completely cover it. A lot of soldiers will be utilized for thorough covering, and it will probably drop. It's ready for use after letting the solder flow evenly around the tip.
When soldering a PCB or any other area, it's advisable to start with a clean surface. Clean your area with an industrial cleaning wipe or acetone cleaner to get rid of any dust or other debris interfering with your soldering. Additionally, compressed air speeds up surface drying and assists in the removal of tiny particles.
Most soldering projects require soldering a few elements at a time over several sessions to finish. To avoid the area resting unevenly and being held down by a heavy element, starting with the smaller elements and concluding with the larger ones is advisable.
Select the small parts you will work with first, then set them where they belong on the surface. When attaching components to a PCB, put them into through holes. Bend the leads slightly under the board to keep the elements in place if they start to come loose.
For soldering, heat the joint so that the iron's heat is transferred to the board. Touch the component lead and board with the iron's tip, which has a bit of solder. The tips of both parts must join for the solder to adhere to them efficiently and heat them. Just a few seconds should be spent with the iron on the joint because excessive heating will result in bubbling. To prevent overheating at this phase, proceed with caution.
The junction is now prepared for soldering. The solder strand should not come into contact with the iron, even though you should maintain it close to the link. Instead, the hot joint should receive the solder directly. If the hot junction has been heated wholly and suitably, it should be adequate to melt the solder and allow it to flow freely. Keep touching the solder strand to the joint until a little mound forms.
Let the joint cool, and set the iron and solder strand aside. The area must remain flat and motionless while it cools, as movement will cause a dull, grainy finish.
Once the joint has cooled, validate it visually to ensure it looks suitable. Once the soldered joint is satisfactory, cut off the excess wire and lead directly above the joint. The completed solder junction ought to match a glossy, smooth cone. To complete the product, solder the remaining parts and eliminate any extra flux from the surface.
In conclusion, PCB soldering is the process of joining and forming stable metal connections. Knowledge of different soldering types, various soldering steps, and suitable temperature for soldering electronics are keys to effective PCB soldering techniques. With the right tools, safety practices, and experience, you can make professional-grade solder joints. From simple DIY projects to image sensor repairs, experts and amateurs can confidently tackle many electronic projects and repairs by mastering PCB soldering skills.

Assembly Enquiry
Instant Quote
Phone contact

+86-755-27218592
In addition, we've prepared a Help Center. We recommend checking it before reaching out, as your question and its answer may already be clearly explained there.
Wechat Support

In addition, we've prepared a Help Center. We recommend checking it before reaching out, as your question and its answer may already be clearly explained there.
WhatsApp Support

In addition, we've prepared a Help Center. We recommend checking it before reaching out, as your question and its answer may already be clearly explained there.
